Introduction
Removing bicycle pedals may seem daunting at first. However, with the right tools and techniques, anyone can do it. This guide will walk you through the process step by step, ensuring that you can confidently take on this task. Understanding how to remove bicycle pedals is essential for various maintenance tasks, including replacing worn-out pedals, cleaning, or adjusting your bike. Let’s get started!
Understanding the Types of Bicycle Pedals
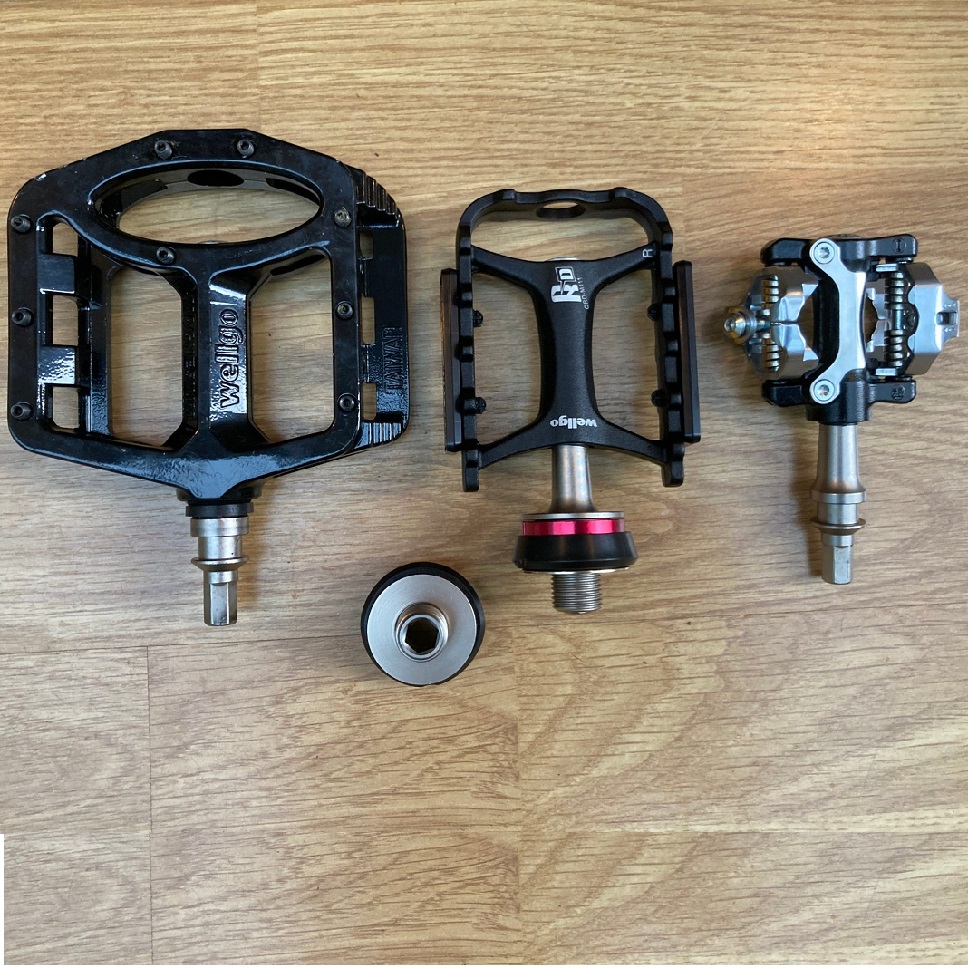
Before you begin, it’s important to understand the two primary types of bicycle pedals: platform pedals and clipless pedals.
Platform Pedals
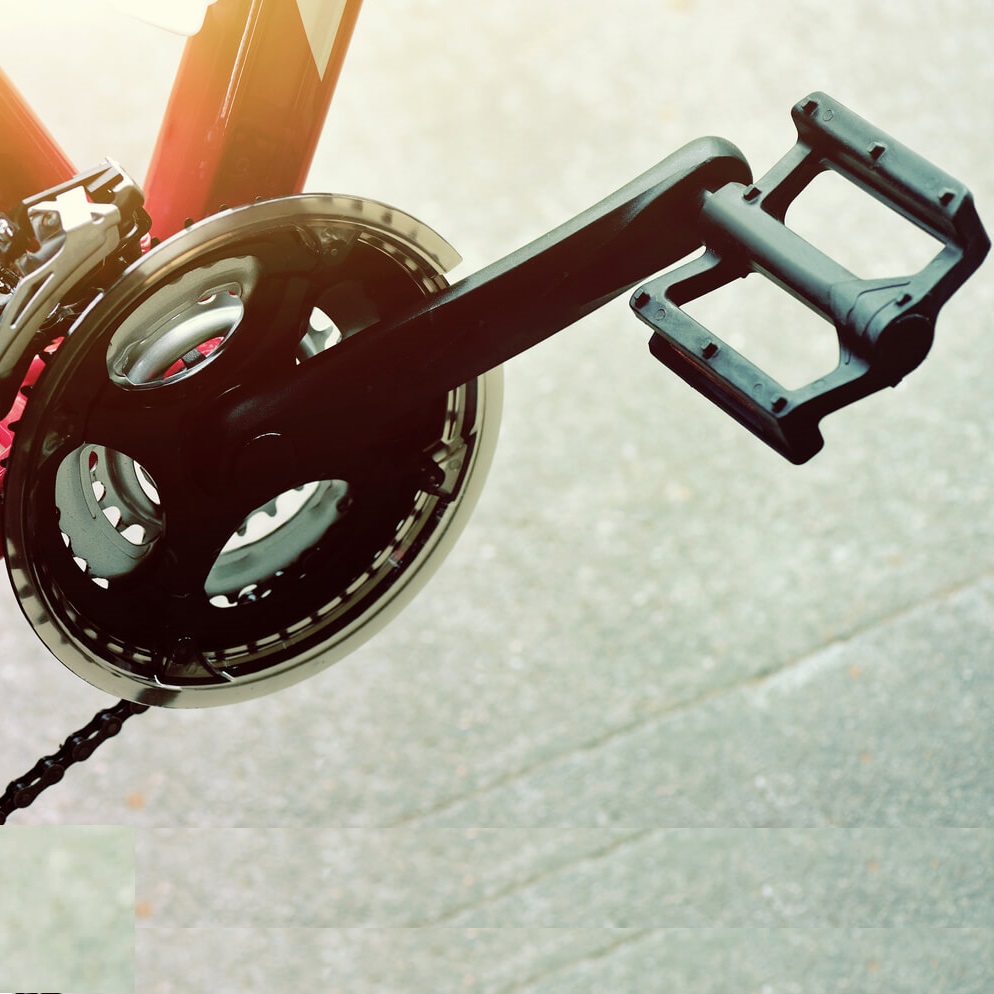
Platform pedals are flat and have a large surface area. These pedals are typically used for casual biking and are favored by beginners. Since you don’t need special shoes to use them, they are convenient. To remove platform pedals, you will usually find a reversible threading mechanism. This means the left pedal has a reverse thread that tightens left and loosens right. Standard tools will work perfectly, which makes them easier to handle for most bike riders.
Clipless Pedals
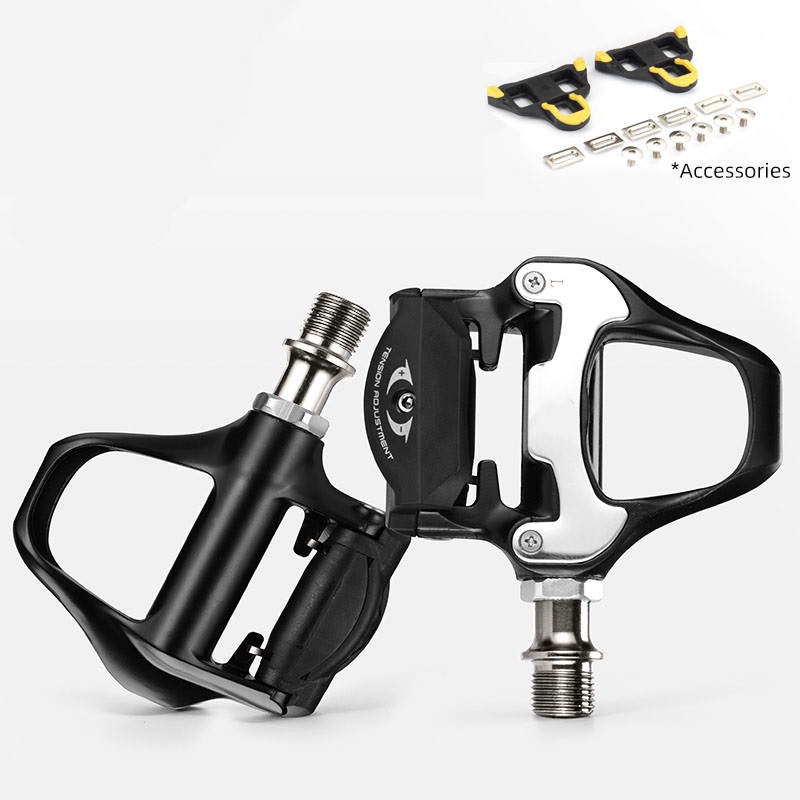
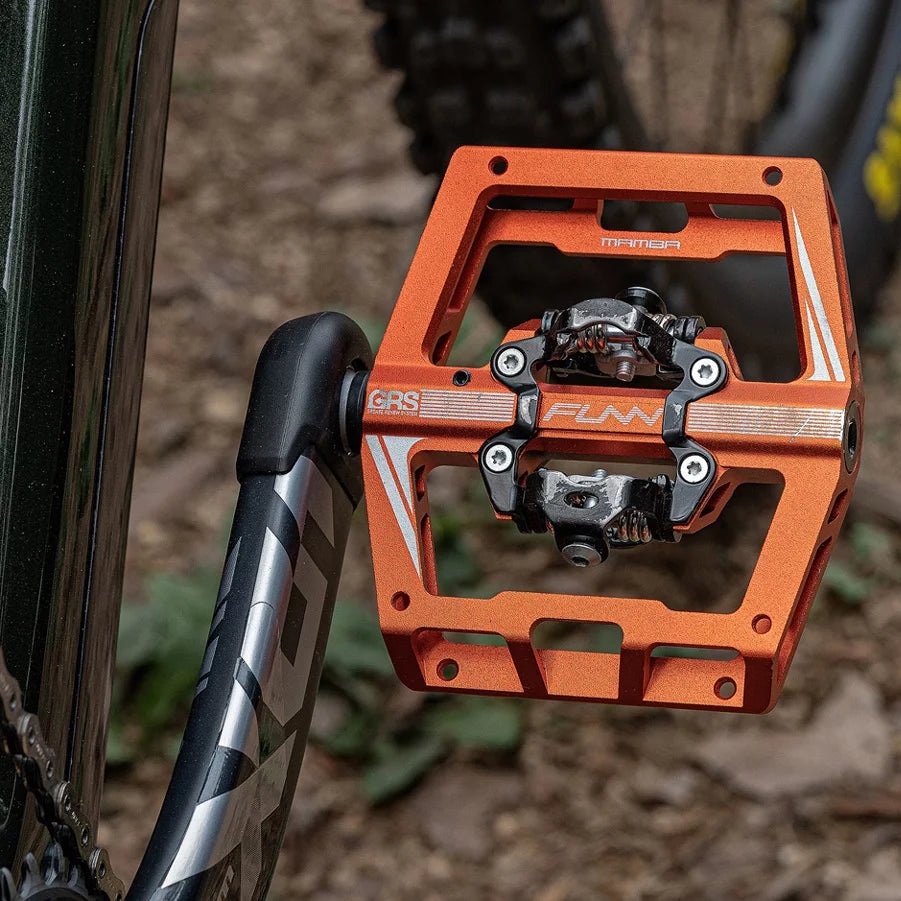
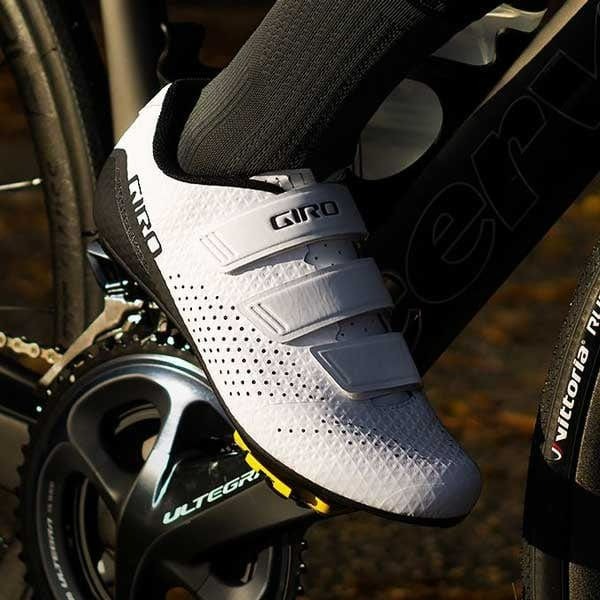
Clipless pedals, despite their name, actually require specific shoes that clip into the pedal. These pedals are popular with road cyclists and mountain bikers. They offer greater control and efficiency when pedaling. The removal process for clipless pedals is different from platform pedals. You will usually need an Allen wrench or a specific tool designed for that model. Understanding these differences is crucial for a smooth removal process.
Tools You’ll Need
Before tackling the bicycle pedals removal process, it’s important to gather the necessary tools. Having the right equipment handy will make the job easier and more efficient.
Essential Tools
- Pedal Wrench: This is a special wrench designed specifically for removing pedals. It has a long handle for better leverage, making it easier to loosen stubborn pedals.
- Allen Wrench (Hex Key): Clipless pedals usually require an Allen wrench. Check the size; it is often 4mm or 6mm. Make sure you have a good quality wrench to avoid stripping the pedal bolts.
- Grease: It’s always a good idea to have some bike grease ready. Applying grease to the threads of the new pedal makes installation easier and helps prevent them from seizing in the future.
- Rags: Cleaning your bike while you do maintenance is a good habit. Have a few rags handy to wipe away grease so your workspace stays clean.
- Safety Glasses: Protect your eyes in case of any flying debris or grease. Safety should always come first when working on your bike.
Having all these tools at your disposal will save time and frustration. You won’t need to stop mid-process to find what you need.
Preparing Your Bike for Pedal Removal
After you have gathered your tools, it’s time to prepare your bike for removal. A clean workspace will enhance your efficiency.
Secure the Bicycle
The first step in preparing your bike is to secure it in an upright position. Depending on your situation, you can use a bike stand or simply flip the bike upside down, resting it on the handlebars and seat. If you are using a bike stand, make sure it is stable. A wobbly bike can lead to accidents, so ensure it is well-balanced.
Clean the Area Around the Pedals
Dust and dirt can accumulate around the pedals over time. Before you proceed to remove anything, take a moment to wipe the area clean. Use a rag to remove grime and grease from the pedals and crank arms. A clean surface will help you see what you are doing while making it easier to apply the correct amount of force during removal.
Check for Damage
Now is also a good time to check your bike for any other damage. Inspect the pedals for cracks or significant wear. If you notice any issues, it may be worth considering replacing the entire pedal. It’s better to do this now than to wait and deal with a malfunction later.
Removing Platform Pedals Step by Step
Now that your bike is prepped and you’re ready, let’s dive into removing platform pedals. This process is straightforward and quick.
Loosening the Right Pedal
Start with the right pedal (the one on the right side of the bike). If you are facing the front of the bike, the right pedal will be on your right side. Most platform pedals tighten by turning them clockwise and loosen by turning them counter-clockwise. To loosen the right pedal, ensure that you are standing on the right side of the bike, then place the pedal wrench or adjustable wrench over the pedal’s flat surface.
Apply pressure by turning the wrench counter-clockwise. If the pedal is stuck, you may need to use your body weight. Consider standing on the wrench’s handle with one foot while pushing down on it. It should give way with some effort. Be careful not to overexert yourself, as you don’t want to strip the threads.
Removing the Left Pedal
Next, move on to the left pedal. Remember, the left pedal has a reverse threading mechanism. This means you will loosen it by turning it clockwise instead of counter-clockwise. Use your pedal wrench in the same manner as described earlier. Ensure that you are still applying enough force to remove the pedal, but again, be careful to prevent stripping.
Cleaning and Lubricating
Once both pedals are removed, take a moment to clean the threads on the crank arms. Use your rag to wipe any remaining dirt and debris. Applying a small amount of grease to the threads is a good idea before installing new pedals. This will make your next pedal removal easier and protect the threads from damage.
Now that the pedals are off, you can inspect the crank arms for any additional wear and damage. This step will help you keep your bike in prime condition for your next ride.
Removing Clipless Pedals Step by Step
Removing clipless pedals requires a slightly different approach. Let’s dive into this method with clear steps.
Loosening the Right Clipless Pedal
Just like with platform pedals, start with the right pedal. Most clipless pedals have two bolts that attach them to the crank arm. Use your Allen wrench to loosen these bolts. Place the Allen wrench into the bolt and turn it counter-clockwise. Applying consistent force will gradually loosen the pedal. If the bolt is stuck, consider applying some penetrating oil and letting it sit for a few minutes.
Keep in mind that you might need to remove both bolts to completely detach the pedal from the crank. Once loosened, you can simply pull the pedal away from the crank arm. Make sure to hold onto it to avoid dropping it.
Removing the Left Clipless Pedal
For the left pedal, you will also use the Allen wrench. But remember the left pedal typically has a reverse thread. Again, push the Allen wrench into the pedal bolt and turn it clockwise. This can feel awkward compared to the right pedal, so be patient. Work until the bolts are completely loose before removing the pedal.
Cleaning and Lubricating
With both pedals detached, now is a great time to clean the crank arm areas again. Use your cloth to wipe off any dirt and debris. Apply grease to the threads in preparation for installing new pedals. This process will help stop your new pedals from seizing and make removal much easier down the road.
Common Mistakes to Avoid
Many people run into issues when attempting to remove bicycle pedals for the first time. Avoid these common pitfalls to ensure a smooth experience.
Not Using the Right Tool
One major mistake is not using a pedal wrench or Allen wrench that fits properly. This can lead to stripping the bolt, making it difficult to remove the pedal. Always ensure you are using the right size tool for the job. Taking time to get it right will pay off.
Forgetting to Check Thread Direction
Another mistake is forgetting that the left pedal has a reverse thread. If you don’t remember this small detail, you could end up tightening the pedal when you want to loosen it. Keep this in mind; it will save you a lot of frustration.
Skipping Grease
Some people forget to apply grease when installing new pedals. When you skip this step, future pedal removals could become a hassle. Always apply a small amount of grease to the threads to make future maintenance easier.
Applying Too Much Force
Lastly, a common mistake is applying too much force. While you want to be firm when loosening pedals, using excessive force can strip the threads or cause injury. Instead, focus on even pressure and, if needed, utilize penetrating oil for stubborn bolts.
Conclusion: Maintenance Beyond Removal
Now that you know how to remove bicycle pedals, you’re well on your way to improving your bike’s upkeep. This process is just one of many maintenance tasks bike owners need to tackle. Understanding how to keep your bicycle in top shape will enhance your riding experience and extend the life of both the bike and its components.
Regular Inspection
Make it a habit to regularly inspect your bicycle. Look for signs of wear and tear not just on the pedals but throughout the bike. Regular maintenance can prevent larger issues later on.
Education is Key
The more you learn about your bike, the better you can care for it. Take time to educate yourself on other maintenance tasks, such as brake adjustments, tire pressure checks, and chain lubrication. The more proficient you become, the easier routine repairs and adjustments will be.
Enjoy the Ride
With your new skills and knowledge, you’ll feel more confident on your bike. Enjoy the ride knowing that you can tackle any pedal removal or maintenance task that comes your way. This confidence not only enhances your riding experience but also contributes positively to your overall biking journey. Happy cycling!
