Introduction to Bicycle Illustration
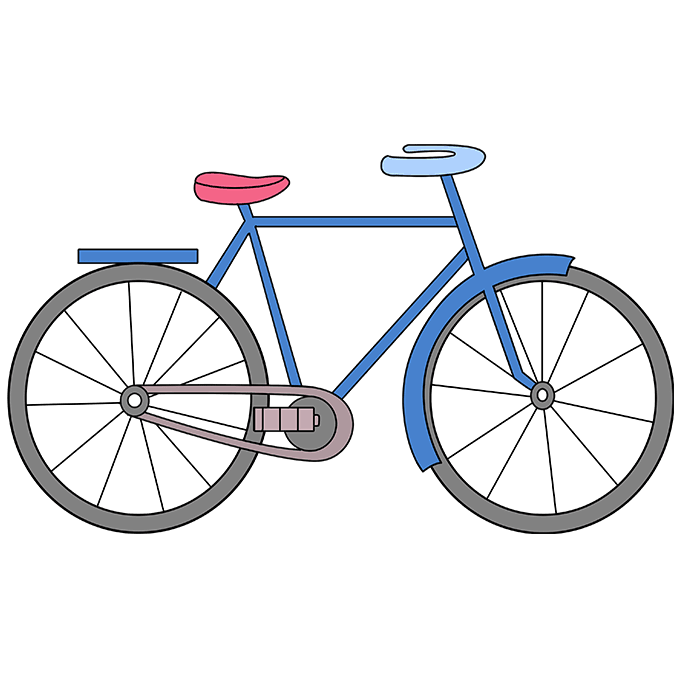
Drawing a bicycle seems simple at first glance, yet it poses a unique challenge for many artists. Bicycles are made of various geometric shapes, and getting the proportions right is essential for the illustration to resonate with viewers. For enthusiasts and aspiring artists looking to conquer the art of bicycle illustration, understanding the underlying structure is key.
Whether you’re sketching for fun or working on a more detailed project, breaking down the complex design of a bike into basic shapes can simplify the process immensely. It’s like solving a puzzle – each piece must fit perfectly to create a coherent whole.
In this guide, we’ll tackle the basics of bicycle illustration, from identifying the key shapes and geometry to refining the details that bring your drawing to life. We’ll follow a step-by-step approach, starting with the wheels and ending with personal touches that make your bicycle illustration uniquely yours. Get ready to pedal through the fun and rewarding process of creating your very own bicycle artwork!
Key Shapes and Basic Geometry
Starting your journey in bicycle illustration, it’s crucial to grasp the fundamental shapes and geometry. Just like constructing a building, your drawing will need a solid foundation based on these basics.
Circles: Wheels are the heart of the bicycle design. Begin with two equal circles representing the front and rear wheels. These will set the groundwork for the rest of your illustration.
Triangles: Frames of bicycles often resemble triangles in their structure. You’ll use triangles to outline the frame connecting the wheels. These geometric shapes help maintain the correct proportions.
Straight Lines: These will come into play to form the handlebars, the seat post, and various other components. Remember, the straightness and angle of each line affect the overall look of the bicycle.
Curves: Gentle curves are necessary for the handlebars and the saddle. They add a sense of reality and comfort to your drawing.
Emphasize on balance and symmetry when drawing these shapes. Keeping the circles the same size and the triangles in proportion will ensure your bicycle illustration looks cohesive. Practice sketching these shapes individually before combining them into a complete picture. For many artists, the challenge lies in the fact that the geometry of a bike is fixed, yet, the style and flow of each line can greatly alter the impression of your artwork. So, take your time with these key shapes and basic geometry principles.
With a little patience, you’ll set up the perfect structure and ensure your bicycle illustration is on the right track from the start.
Step-by-Step Guide to Drawing Wheels
Drawing the wheels is the first critical step in creating your bicycle illustration. Wheels are the heartbeat of your bike’s design, giving it balance and movement. Let’s dive into the steps to get those circles just right.
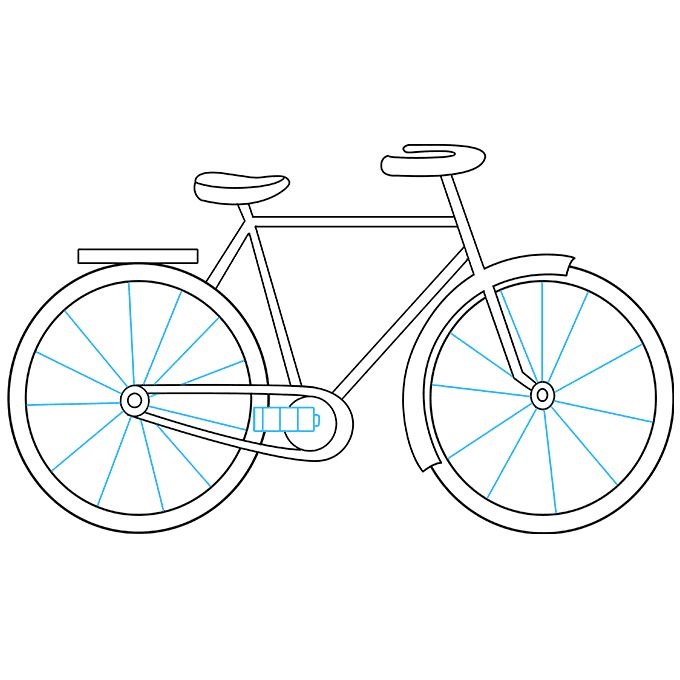
- Draw Two Equal Circles: Start with two large circles for the wheels, making sure they’re equal in size. Imagine these wheels are the bike’s tires.
- Space Them Apart: Place the circles at an adequate distance from each other. This spacing determines the bike’s length.
- Sketch the Hubs: In the center of each wheel, draw smaller circles. These are the hubs, the wheel’s anchors.
- Link with Straight Lines: With light, straight lines, connect the hubs. These will be the axle lines that hold your wheels together.
- Add the Rims: Around each hub, sketch another circle. This outlines the rims where the tire meets the wheel.
- Detail with Spokes: Now draw straight lines from the hubs out to the rims. These spokes will give your wheels strength and structure.
Remember, symmetry is key. Your wheels should look like twins, mirroring each other in shape and size. If one wheel ends up bigger, it can make the whole bicycle feel unbalanced. Practice makes perfect, so don’t rush. Take your time with each wheel, and you’ll build a strong foundation for your bicycle illustration.
Crafting the Bike Frame
Once you’ve got the wheels down, it’s time to craft the bike frame. This step is crucial for connecting everything together and giving your bike its iconic shape. Remember to keep it simple and symmetrical. Let’s dive into this phase of your bicycle illustration.
- Outline the Main Triangle: Start by drawing a large upside down triangle in between the two wheels. This forms the main part of the frame.
- Draw the Seat Post: From the top point of your triangle, extend a straight line upwards. This will be where the saddle is attached.
- Add the Top Tube: Sketch a horizontal line above the triangle, reaching from the seat post towards the front wheel. This is known as the top tube.
- Sketch the Down Tube: Connect the bottom of the seat post to the front wheel hub with a diagonal line. This tube supports the bike’s structure.
- Include the Head Tube: Draw a short vertical line between the front wheel hub and the top tube. The handlebars will attach here.
- Connect with the Bottom Bracket: Add a small circle at the bottom of your main triangle. This is the bottom bracket, holding the pedals.
Remember, each line and shape should be drawn with care. Work slowly and use light strokes, so adjustments are easy to make as you refine the frame. Balance and precision are key to a bike that looks ready to ride.
Adding the Handlebars and Saddle
Once the bike frame takes shape, it’s time to add the handlebars and saddle. These elements are crucial as they shape the bike’s functionality and comfort. Here’s a simple guide to drawing them:
- Position the Handlebars: Identify where the front wheel hub is. Draw a short vertical line upwards from here. This is where the handlebars will attach.
- Draw the Handlebars: Use a gentle curve to sketch the handlebars extending from the vertical line. Handlebars vary in shape, so choose a style that suits your bike’s design.
- Create the Saddle: Above the rear wheel, draw an angled line upwards from the top of the frame. This is the seat post. At the top, sketch a small oval for the saddle. Remember to give it a slight curve for realism.
- Refine the Details: Add thickness to the handlebars and saddle. This gives them a more three-dimensional feel. Ensure they are proportional to the rest of the bike.
Take your time with each step, ensuring that every line contributes to a balanced and realistic bicycle illustration. Keep the shapes simple and the lines confident. With the handlebars and saddle in place, your bicycle starts to come to life and take on a personality.
Detailing with Pedals, Chains, and Spokes
Now that you’ve sketched wheels and frame, it’s time to add pedals, chains, and spokes. These details make your bicycle illustration pop and feel complete.
Sketching the Pedals
- Start with the Crank Arms: Draw two lines coming out from the center of the bottom circle of your frame. These will form the crank arms.
- Add Small Circles: At the end of each crank arm, draw a small circle. These represent where the pedals attach.
- Shape the Pedals: Form the pedals by creating rectangles attached to the small circles. Be sure to make them the same size for consistency.
Drawing the Chain
- Outline the Chain: Sketch a thin oval representing the chain, looping around the front and back gears. This gives the impression of motion.
- Add Detail: Mark a few lines along the chain to indicate links. Keep these lines small and evenly spaced.
Illustrating the Spokes
- Mark the Wheel Hubs: Put a dot at the center of each wheel. These are your hubs.
- Connect Hubs to Rims: Draw straight lines from the hub to the edge of the wheel. These are your spokes.
- Ensure Symmetry: Make sure spokes are evenly spaced. They should fan out neatly from the hub.
By paying attention to these details, your bicycle will look more realistic and technically accurate. Keep refining until you’re satisfied with how each part looks.
Personalizing Your Bicycle Illustration
After mastering the basics of bicycle illustration, it’s time for the fun part. Personalizing your drawing can turn a standard bicycle into one that uniquely reflects your style or imagination. Here are some ideas to customize your bicycle illustration:
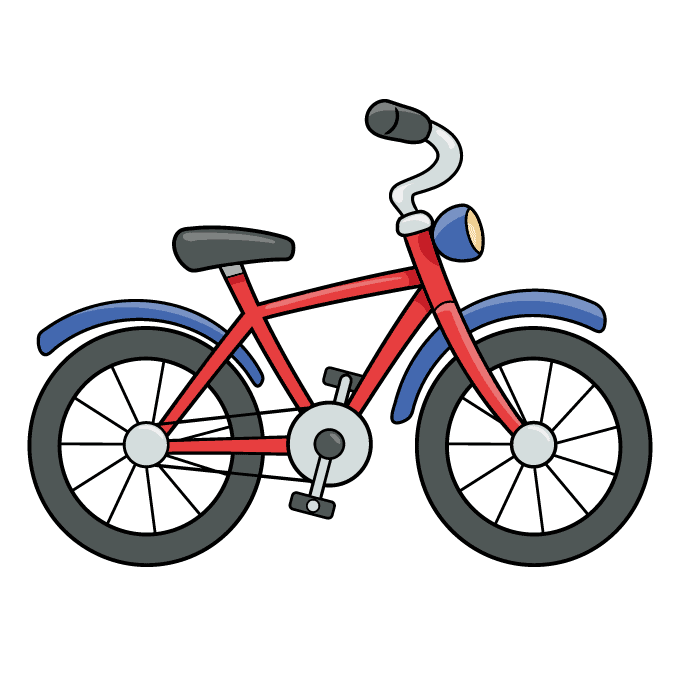
- Choose Your Colors: Pick colors that resonate with you. Are you into bright and bold, or subtle and sleek? Use them on your bike’s frame, wheels, and details.
- Add Accessories: Think about what accessories a bike might have. A basket, bell, sleek lights, or reflective strips? These little touches make your bike special.
- Draw Unique Patterns: Maybe your bike has a patterned frame or custom graphics? Get creative with stripes, polka dots, or any design that pops.
- Include a Background: Where is your bike? Parked in a quaint alley, ready for a race, or on a mountainside trail? The setting can add a story to your artwork.
- Experiment with Textures: Give your drawing texture. Show shiny metal, rugged tires, or a soft leather seat. Use shading or line work to convey this.
- Play with Perspective: Show your bike from different angles. How about a bird’s-eye view or from the side with a dramatic shadow?
These personal touches not only make your artwork stand out but also allow you to express your creativity freely. Remember, there’s no right or wrong when it comes to art. If you’re happy with your creation, that’s what truly matters. Keep practicing and tweaking; your signature bicycle illustration style is within reach.
Conclusion and Sharing Your Artwork
You have now tackled the art of bicycle illustration with success. With the knowledge of basic shapes and precise geometry, your bicycle drawings likely boast clear structure and balance.
Remember to practice regularly. This reinforces your skills and lets you discover new techniques. Share your art with others. Posting online or joining artist communities can offer valuable feedback.
Use colors, accessories, and unique details to make your bicycle illustrations stand out. Your personal style will shine through with each bike you draw.
And finally, have fun with your creations. Let your imagination ride free as you sketch different bicycle designs. Art is a joyous journey, just like a good bike ride. Keep pedaling your creativity.
Share your works with the world. Tag fellow artists or use hashtags related to ‘how to draw a bicycle’ on social media. Who knows? Your illustrations might inspire someone else to start their own artistic journey. Keep drawing and enjoy every step of the way!
