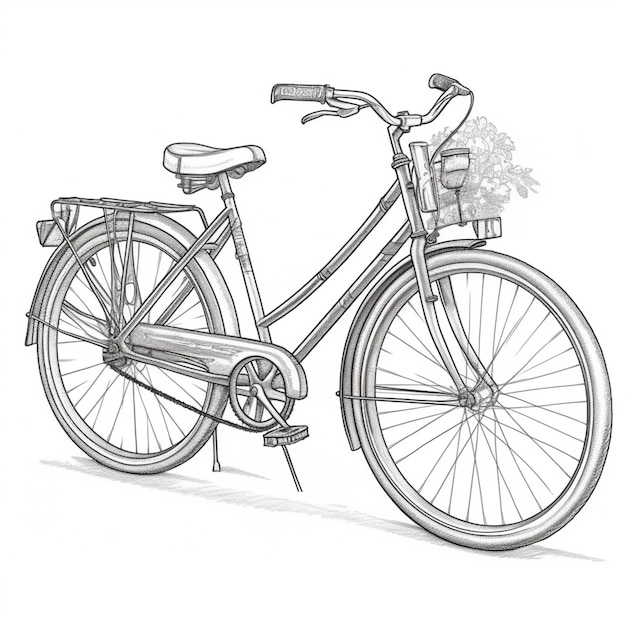
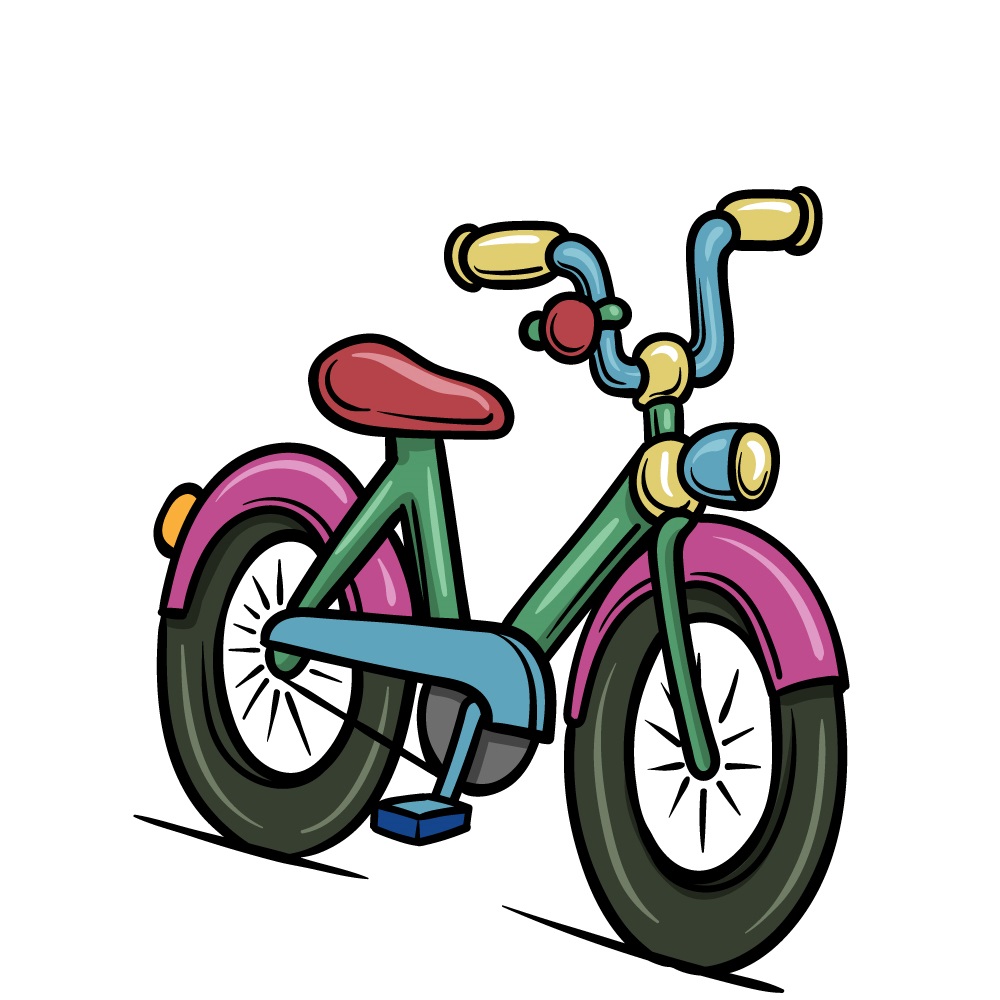
Introduction to Bicycle Drawing
Drawing a bicycle can seem daunting at first. However, with the right approach, it can be simple and fun. This blog will guide you, step by step, to master the art of bicycle drawing with ease.
Firstly, we’ll look at the core shapes that make up the structure of a bicycle. Knowing these basic shapes is crucial. They provide the framework of your drawing. We’ll explore how an upside down triangle forms the central part of the bicycle frame. Then, we’ll connect this triangle with a bisected diamond shape and additional triangles.
Once the basic shapes are down, we’ll move on to the wheels. The wheels might be tricky, but with tips on how to achieve symmetry, you’ll be drawing perfect circles in no time. After the wheels are set, it’s time to fill in the frame details. We’ll add the handlebars and saddle, adjusting for proportions to make sure your bicycle looks realistic.
Finally, we’ll add the finishing touches. This includes the pedals, drive chain, and the illusion of spokes on the wheels. We’ll also cover how to enhance your drawing with techniques like over-drawing and adding speed lines to bring motion to your bicycle.
Throughout this guide, I’ll show you how to avoid common mistakes and make corrections, such as addressing wrong proportions or fixing the complexity of the back wheel. So grab a pencil, some paper, and let’s embark on this journey to perfect bicycle drawing.

Essential Shapes for Bicycle Structure
Drawing a bicycle starts with understanding its structure. It’s all about combining simple shapes. Get these right, and you’re halfway there.
The Upside Down Triangle
Begin your bicycle drawing with an upside down triangle. This represents the main frame. It’s the core from which everything else extends. Place it in the center of your page to start.
Bisected Diamond and Additional Triangles
Next, add a bisected diamond shape to the upside down triangle. This forms the front and rear forks. Then, include additional triangles for the bike’s geometry. Remember to connect them clearly to the main frame. Use straight lines for edges to keep the design easy and straightforward.
Drawing the Wheels
Drawing wheels can be the most challenging part of bicycle drawing. Yet, it’s essential for the authenticity of your bicycle sketch. We’ll tackle this step with methods tailored to easy wheel depiction.
Achieving Symmetry in Wheels
To achieve symmetry in your bicycle wheels, start with lightly sketched guidelines. Draw a horizontal line for the ground and determine the wheel’s position relative to it. This will serve as the base. Next, sketch a vertical line through the wheel’s center to guide the wheel’s circumference. Use these cross lines to maintain even wheel size.
Simple tools like a compass or circular objects can help trace perfect circles. If you don’t have a compass handy, find items like a tape roll or a lid that match your wheel size. Trace around them gently, keeping the pressure even for a smooth line.
Remember that both wheels need to be equal in size unless you’re drawing a perspective where one wheel is farther away. For such cases, adjust the second wheel’s size slightly smaller to represent distance.
Once you have the basic circles down, refine the edges. Erase any extra guidelines to clean up your drawing. A clean eraser and sharp pencil are crucial here. They ensure crisp lines for a professional appearance.
When drawing wheels, the keyword is ‘patience.’ Take it slow, and don’t rush the process. Symmetrical, well-drawn wheels are worth the extra effort and are key to a convincing bicycle drawing.
Adding the Frame Details
Once you have the basic structure and wheels of your bicycle sketched, it’s time to add in the frame details.
Handlebars and Saddle
Handlebars and saddle give your bicycle drawing a personality and functionality. Start with the handlebars by drawing a simple, curved line above the front fork. Make sure they align with your bike’s overall proportions. For the saddle, sketch an oval shape above the rear wheel, ensuring it’s positioned comfortably for an imaginary rider. Keep these shapes simple and clear – the aim is to suggest these features without overwhelming your drawing with detail.
For both elements, remember to maintain the correct angle – handlebars should be horizontal to the bicycle’s body, and the saddle should be comfortably angled upwards. This keeps your drawing realistic and easy on the eyes.
The Geometry of Bicycle Frames
Bicycle frames have a distinct geometry, which can be tricky to get right. Take note of the angles where each frame piece connects. Each angle serves a functional purpose and adds to the overall aesthetic of your bicycle drawing.
Focus on how the front fork angle can affect steering, and make sure that it’s not too steep or shallow. Pay attention to the rear triangle of the bike, as it provides stability. It should be accurately proportioned in relation to the rest of the frame. Keep the lines crisp and clean to reflect the sleekness of a real bicycle frame.
Remember, the beauty of a bicycle frame lies in its simple yet precise design. With careful observation and a bit of practice, replicating this geometry becomes an easy challenge to master. Keep your drawing simple, focus on the basic angles, and refine as you go.
Finishing Touches
Once the foundational shapes and details of your bicycle drawing are in place, it’s time for the finishing touches. These are the elements that will make your bike look functional and complete. Let’s start with the pedals and drive chain, followed by creating the illusion of spokes on the wheels.
Pedals and Drive Chain
Adding pedals to your bicycle drawing is simple. Sketch two small ovals where the pedal rods end. Ensure they’re evenly placed on either side of the bike. Above the pedals, draw a narrow rectangle for the pedal rod. The drive chain requires a bit more attention. Draw a series of small rectangles along the path from the pedals to the rear wheel, creating the look of a linked chain. Keep it light and easy; the aim is not to make it complex, but to suggest the texture of a bike chain.
The Spokes Illusion
Achieving the look of bicycle wheel spokes can be easy with the right technique. Rather than drawing every individual spoke, aim for the illusion. Start by drawing a few lines that radiate out from the wheel’s center to the rim. This gives the impression of spokes without overwhelming your drawing. Remember to cross some lines over others to mimic the pattern of real spokes, but don’t fret over perfection. The goal is to give a sense of complexity without the intricate details.
With these elements in place, your bicycle drawing gains realism and depth, moving from simple shapes to a convincing depiction of a bicycle. Just a few more strokes, and your artwork will be ready to impress.
Enhancing Your Drawing
Once your bicycle drawing has all the essential elements, it’s time to enhance it. This gives your artwork a dynamic and polished finish. Enhancements also help hide minor imperfections and draw the viewer’s attention to the best parts of your creation.
Overdrawing Techniques
Overdrawing is a clever way to draw focus to the parts of your bicycle that you’re most proud of. It involves going back over your existing lines with a firmer, bolder stroke. This technique can help emblematic features of your bicycle, like the frame or handlebars, stand out. Start by choosing areas of your drawing that you feel are particularly well done. Use a darker pencil or a pen to go over these lines. This will make them more prominent. But be careful not to overdo it. The key is to enhance, not overpower, your original drawing.
Adding Motion with Speed Lines
Speed lines are a fantastic method to show movement in still drawings. For your bicycle drawing, they can suggest it’s zooming along. To add speed lines, draw several straight, thin lines coming off the back wheels or the frame. These should be lightly sketched and directed backwards, as if your bicycle is moving forward fast. Space the lines out and avoid making them too heavy. This creates a sense of fast motion without cluttering your drawing.
By using over-drawing techniques and adding speed lines, your bicycle drawing becomes more lively and interesting. These are simple, yet effective ways to take your artwork to the next level and make your bicycle look easy to draw and fun to look at.
Common Mistakes and Corrections
Mistakes can happen when drawing bicycles, especially when starting out. Identifying and fixing these mistakes is key for improvement.
Addressing Proportions
Proportion errors can make a bicycle drawing look awkward. To correct proportions, first compare the size of the frame to the wheels. Ensure the frame is not too large or too small compared to the wheels. Also, check the distance between wheels. It should match the length of the frame. If the proportions are off, use an eraser to adjust them. Small adjustments can make a big difference in the overall look.
For the handlebars and saddle, make sure they are in the right place and right size. Handlebars should be level with the top of the wheels. The saddle should be high enough for a person to sit. Look at real bicycles for reference if unsure about proportions.
Fixing the Back Wheel Complexity
The back wheel of a bicycle often looks more complex due to the gears and drive chain. If your back wheel is too detailed, it can overwhelm your drawing. To simplify, focus on the outline of the wheel first. Add only a few gear details to hint at complexity. Avoid drawing all the gears in detail.
If the back wheel is not round or looks uneven, use a circular object to trace it. This ensures a perfect circle. Adding spokes can also be tricky. Avoid drawing all of them. Instead, sketch a few to suggest the pattern.
Keep practicing, and use these corrections the next time you draw a bicycle. With practice, drawing a bicycle becomes easy and enjoyable.
Concluding Tips and Tricks
Mastering the art of bicycle drawing can be straightforward with these final tips and tricks. First, always begin by sketching lightly. This allows for easy correction of any mistakes. Aim for simplicity in your drawings. Include the basic elements and refine them as you progress. A simple drawing often speaks volumes.
Patience is your best tool when it comes to drawing. Never rush the process, especially with elements like wheels that require symmetry. If you make a mistake, don’t stress. Use it as a learning point. Practice makes perfect, and each drawing will improve.
Always keep proportions in mind. Use real bicycles as a reference to check angles and sizes. Remember, a clean eraser can fix any mishaps and maintain the cleanliness of your drawing.
Finally, don’t be afraid to experiment. Try different styles and techniques to find what works best for you. Enjoy the process, and watch as your bicycle drawings go from basic sketches to impressive illustrations.


