Assessing Your Starting Point
Before adjusting your bike for the perfect ride, assess your current setup.
- Document Your Starting Position: Keep a record of your bike’s current configuration. Note saddle height, handlebar position, and any pains you experience.
- Baseline Comfort Assessment: Evaluate how comfortable you feel on your bike. Are there pains after riding?
- Check Your Posture: Observe your body’s alignment when seated. Make sure your reach to the handlebars feels natural.
- Measure Current Settings: Take measurements of your saddle height, handlebar height, and distance to pedals.
By understanding your starting point, you can make informed adjustments to achieve the correct bicycle riding position. This step is crucial for setting up your ride for both comfort and performance.
Determining the Correct Frame Size
Selecting the right frame size is foundational for a correct bicycle riding position. Here’s how you can do it:
- Consult Manufacturer Sizing Charts: Most brands provide size charts that link your height to their frame sizes.
- Understand Effective Cockpit Length: The distance from the seat to the handlebars, known as the cockpit length, greatly affects comfort.
- Measure Your Inseam: Compare your inseam measurement to sizing charts or use it for calculations in bike fitting formulas.
- Stack and Reach Ratio: Look at the stack (vertical frame measurement) and reach (horizontal frame measurement) to get a nuanced fit.
- Check Standover Height: Ensure there’s enough space between you and the top tube to mount and dismount safely.
With the correct frame size, you can ride more comfortably and reduce the risk of injury.

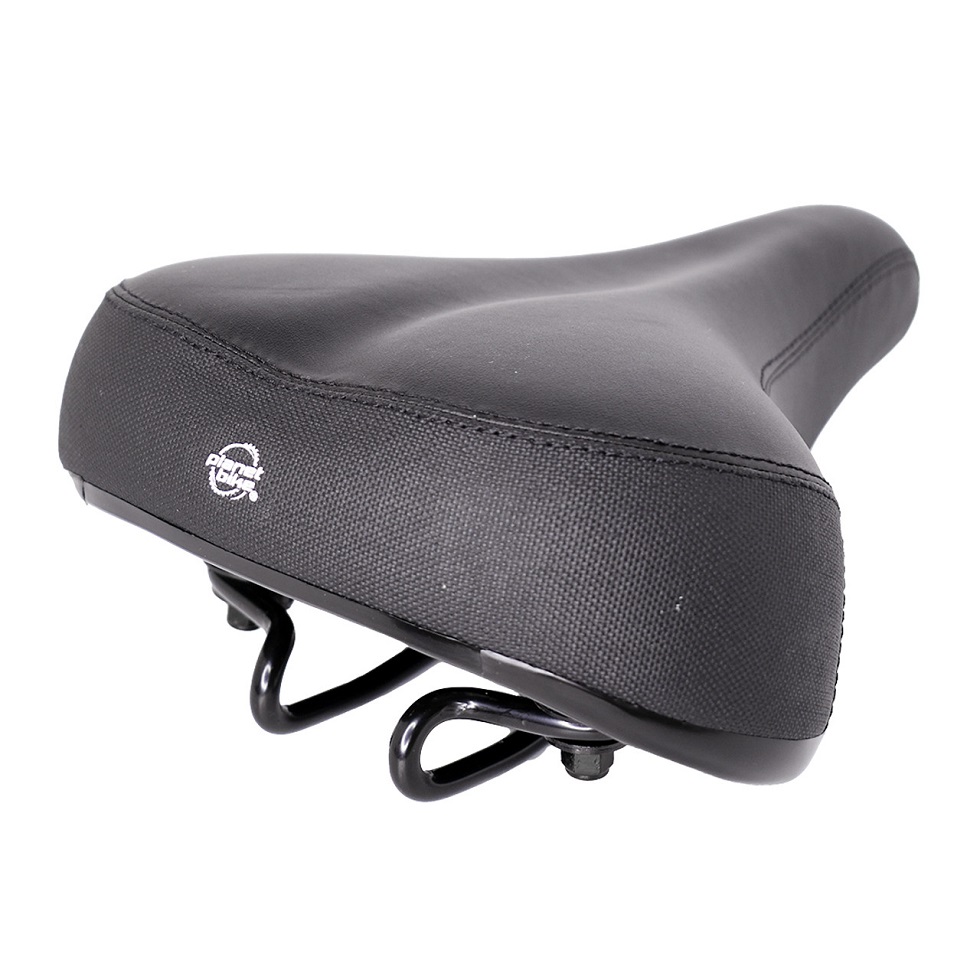
Selecting the Right Saddle for Your Riding Style
Choosing the right saddle is key to a correct bicycle riding position. Various factors come into play based on your riding style. Here’s how to select the right saddle.
- Understand Your Riding Position: Different saddles suit different riding positions. Identify whether you lean forward or sit upright more often.
- Saddle Width Matters: Match saddle width to the width of your sit bones. Bike shops can help measure this.
- Consider Saddle Shape: Saddle shape impacts comfort and efficiency. Some prefer long, narrow saddles while others might opt for a wider, padded type.
- Short Nose or Not? Road riders might choose short-nose saddles for a more aggressive position. Those after comfort may go for a traditional shape.
- Gender-Specific Designs: Some saddles cater to the anatomy of men and women. Try both to see what fits best.
- Test Rides Are Useful: If possible, test ride different saddles. Many shops offer demo programs.
With these tips, you can better align your saddle choice with your riding style, adding to your overall cycling experience. Remember, the right saddle enhances comfort and performance on long rides.
Establishing the Ideal Saddle Height
Finding your ideal saddle height is essential for a comfortable ride. Start by ensuring you have the correct frame size as discussed previously to help with saddle height accuracy.
- Heel on Pedal Method: Place your heel on the pedal. At the pedal’s lowest point, your leg should be straight.
- Knee Bend: When pedaling, a slight bend in the knee is optimal. Avoid full leg extension.
- Saddle Adjustments: Move your saddle up or down in small increments. This fine-tunes your leg position.
- Check for Hip Rocking: Your hips should stay still when pedaling. If they rock, adjust your saddle height.
- Alignment: Ensure your knee is over the pedal spindle when the pedal is at 3 o’clock.
- Comfort is Key: Always aim for a height that feels natural and doesn’t cause discomfort after riding.
- Consult Measurement Guides: Use online guides or apps that suggest measurements based on your inseam.
- Test and Retest: After adjustments, go for short rides to test the new height. Bring tools for on-the-go changes.
Remember, the correct saddle height improves pedaling efficiency and comfort. It should not lead to knee pain or discomfort. Adjust your bike as needed and enjoy a better riding experience.
Fine-Tuning Saddle Fore/Aft Position
Fine-tuning the saddle’s fore/aft position is crucial for a correct bicycle riding position. It affects your reach to the handlebars, your pedaling efficiency, and overall comfort. Here’s a guide to perfecting this aspect of bike fitting:
- Start with Knee Alignment: Position your knee directly over the pedal spindle when your foot is on the pedal at the 3 o’clock position. This alignment helps maintain proper leg mechanics during pedaling.
- Use a Plumb Line: For a more precise measurement, hang a plumb line from just below your kneecap to check if it intersects with the pedal spindle.
- Adjust in Small Increments: If adjustments are needed, move the saddle forward or backward in small steps to avoid drastic changes.
- Check Comfort: Go for a test ride and note any strain on your knees or lower back. Adjust as needed.
- Balance is Key: Find a position that allows you to use your thigh muscles effectively without overloading your arms and shoulders.
- Take Your Time: It may take several attempts to find the optimal fore/aft position, so be patient and make adjustments as you learn what feels best.
- Consult a Professional: If you’re unsure, seek help from a bike fitting expert to fine-tune your position.
By paying careful attention to the saddle fore/aft position, you’ll enhance your riding comfort and help prevent injuries. Every adjustment should aim at achieving a natural and pain-free cycling experience.
Adjusting Saddle Tilt for Optimal Comfort
Setting your saddle tilt correctly can boost your riding pleasure. It’s all about hitting that comfort sweet spot. Here are simple steps to get it right:
- Begin with a Neutral Position: Start with your saddle level to the ground. This usually works for most riders.
- Adjust Based on Feel: If you slide forward, tilt the nose slightly up. If you experience too much pressure, tilt it down a bit.
- Use a Level App: A smartphone level app can help check the tilt. Aim for a tilt that’s close to zero degrees.
- Sit Bone Support is Vital: Ensure the saddle supports your sit bones well. Not your soft tissue.
- Remember Comfort Equals Efficiency: A well-tilted saddle keeps you comfortable. This means you can ride longer and more efficiently.
- Make Incremental Changes: Smaller tilt adjustments are best. They allow you to fine-tune without going too far off.
- After Adjusting, Always Test Ride: Go for a quick spin after changes. Check if the new tilt feels better.
Correct saddle tilt means less strain on your hands and wrists. It also prevents sliding forward, which can help you maintain the correct bicycle riding position. When you’re comfortable, you’ll naturally ride better and longer. If persistent discomfort occurs, reconsider the saddle’s shape and width or think about a professional bike fit.

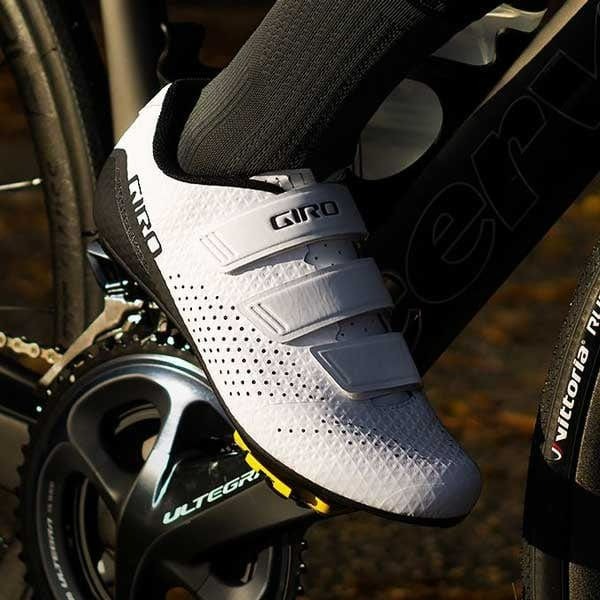
Handlebar Positioning for Improved Handling
Finding the correct handlebar position is crucial for a correct bicycle riding position and handling. It affects your comfort level, steering, and overall bike control. Here’s how you can fine-tune the handlebar position for a better ride:
- Start with the Height: Handlebar height impacts your riding posture. A higher position offers a comfortable, upright stance, while a lower one provides an aerodynamic posture.
- Consider the Reach: Adjust the distance from the saddle to handlebars. Proper reach prevents arm strain and improves steering control.
- Handlebar Width is Important: Ensure the handlebars are not too wide or narrow for your shoulders. They should align with the width of your shoulders for optimal control.
- Angle for Comfort: Tilt the handlebars slightly for wrist comfort. This can reduce risks of numbness or fatigue on long rides.
- Check Levers Position: Brake and gear levers should be easy to reach and use. You shouldn’t strain to operate them.
- Test and Adjust: After making adjustments, test your bike. Note any discomfort or ill-handling and tweak as needed.
- Seek Help if Needed: If unsure about adjustments, consult with a bike fitting professional for advice.
By setting up your handlebar position correctly, you can enhance your bike’s handling and your overall riding experience. Make changes gradually and always aim for a comfortable and efficient riding posture.
When to Consider a Professional Bike Fit
While many cyclists can find a comfortable bicycle riding position through trial and error, there are times when consulting a professional bike fitter is the best course of action. Here are some reasons to consider professional assistance:
- Consistent Discomfort: If after self-adjustments, pain or discomfort persists, a professional bike fit can identify and fix issues.
- Maximize Performance: For those serious about cycling performance, a professional fit ensures every pedal stroke is efficient.
- New or Specialized Bicycle: When investing in a new bike, particularly one with a distinct geometry or purpose, a professional fitting can tailor the bike to your body.
- Recovery from Injury: A bike fit can aid those recovering from injury, ensuring their ride promotes healing and doesn’t exacerbate problems.
- Long-Distance Riding: Endurance riders can benefit from a fit focused on sustainability for long hours in the saddle.
- Changes in Flexibility or Strength: Your body changes over time, a pro fitter will adjust your bike to match your current condition.
- If DIY Guidelines Don’t Help: Sometimes, following standard advice doesn’t lead to comfort, that’s when the nuanced insight of a professional is invaluable.
Remember, a bike fit isn’t a one-time event. It’s good to revisit and adjust your fit periodically as your body and cycling goals evolve. Prioritize comfort to ensure you can ride happily for miles on end.